Hexo简介
Hexo是一个快速、简洁且高效的静态博客框架。
Hexo vs Wordpress
与Wordpress不同,Hexo不是一个博客系统,而是静态文章的生成工具。
二者最主要的区别便是写文章的模式不同:用Wordpress写文章需要在控制台操作,写完后发布出去,文章、页面等数据由Wordpress的后台系统管理;而用Hexo写文章时只需在本地操作,写好文章后,通过命令生成静态文档,然后部署到服务器即可发布文章页面。

(随便找的一个站,水墨风格,挺好看的:D)
Hexo优点
使用Hexo写博客的优势如下:
博客页面可托管于
GitHub等公共平台,无需自己购买服务器,经济实惠。Hexo原生支持Markdown语言,文章写作体验极佳,这点Wordpress真心比不了。Hexo使用Node.js生成静态文档,速度极快,上百个页面能在几秒内完成渲染。只需一条指令即可部署到
GitHub Pages或是自己服务器的git仓库
下面介绍如何使用Hexo快速搭建博客~
准备工作
Hexo安装时,需要从github和npm下载所需的组件,因此要先安装git和node.js
(Node.js 版本需不低于 8.10,建议使用 Node.js 10.0 及以上版本)
安装git
Windows:直接下载git安装包,点击安装即可。
Linux (Ubuntu, Debian):
sudo apt-get install git-coreLinux (Fedora, Red Hat, CentOS):
sudo yum install git-core
安装Node.js
Node.js 为大多数平台提供了官方的 安装程序。
其它的安装方法:
- Windows:通过 nvs(推荐)或者nvm 安装。
- Mac:使用 Homebrew 或 MacPorts 安装。
- Linux(DEB/RPM-based):从 NodeSource 安装。
安装完之后打开命令行,查看以下nodejs和npm的版本(windows下使用cmd执行命令):
1 | node -v |
npm是随同NodeJS一起安装的包管理工具,如果npm版本较低,可使用如下命令升级:
1 | sudo npm install -g npm |
安装Hexo
Hexo的安装可以参考官方文档,文档有中文的,而且介绍的十分齐全。
所有必备的应用程序安装完成后,即可使用 npm 安装 Hexo:
1 | sudo npm install hexo-cli -g |
建站
安装 Hexo 完成后,执行下列命令,Hexo 将会在指定文件夹中新建并自动下载所需要的文件:
1 | hexo init <folder> |
新建完成后,指定文件夹的目录如下:
1 | . |
_config.yml
_config.yml是网站的配置信息,可以在这里配置大部分的参数,详细介绍在这里
建站时,主要修改的参数有以下几个:
站点配置:
1 | # Site |
URL配置:
1 | # URL |
插件和主题配置:
1 | # Extensions |
部署信息配置:
1 | # Deployment |
package.json
应用程序的信息。
1 | { |
可以dependencies中添加应用程序,然后在当前目录使用npm安装新增的应用程序:
1 | npm install |
也可以直接用npm安装指定应用程序:
1 | npm install <pkg>@<version> --save |
scaffolds
模版 文件夹。新建文章时,Hexo 会自动应用scaffold 里保存的模板文件。
1 | . |
scaffolds文件夹中默认有三个模板文件,分别是草稿、页面、文章的模板。
在新建文章时,Hexo 会根据 scaffolds 文件夹内相对应的文件来建立文件,例如:
1 | hexo new post "New post" # 新建文章 |
source
资源文件夹是存放用户资源的地方。除 _posts 文件夹之外,开头命名为 _ (下划线)的文件 / 文件夹和隐藏的文件将会被忽略。Markdown 和 HTML 文件会被解析并放到 public 文件夹,其他文件则会被直接拷贝过去。(下面是我博客source文件夹的结构,后续还会介绍)
1 | source |
themes
主题文件夹。Hexo 会根据主题来生成静态页面。
把下载好的主题放到themes文件夹中,在_config.yml中设置主题名称即可切换主题。
Hexo命令
这里只介绍几个常用命令,全部命令可以使用hexo --help查看,或者看官方文档
init
1 | hexo init [folder] |
初始化一个网站。如果没有设置 folder ,Hexo 会默认在当前目录下建立网站。
new
1 | hexo new [layout] <title> |
新建一篇文章。如果没有设置 layout 的话,默认使用 _config.yml 中的 default_layout 参数代替。
如果标题包含空格的话,需要用引号括起来:
1 | hexo new post "post title with whitespace" |
可简写为:
1 | hexo n |
generate
1 | hexo generate |
生成静态文件。可简写为:
1 | hexo g |
server
1 | hexo server [-i ip] [-p port] |
启动服务器。默认情况下,访问网址为: http://localhost:4000/
可简写为:
1 | hexo s |
很实用的命令,生成文章后可以先在本地开启server预览网页。
deploy
1 | hexo deploy |
部署网站。可简写为:
1 | hexo d |
clean
1 | hexo clean |
清除缓存文件 (db.json) 和已生成的静态文件 (public)。
在某些情况(尤其是更换主题后),如果发现对站点的更改无论如何也不生效,可能需要运行clean
更改主题
hexo-theme-butterfly是基于Molunerfinn的hexo-theme-melody的基础上进行开发的。
这个主题的帮助文档写的极为详细,快去看吧:
写作
Hexo中写文章用的是markdown语言,如果之前没接触过的话,可以看下面的文章快速入门:
Typora
Typora是一款很不错的Markdown书写软件,全平台支持(是我目前用过最好用的editor…)

使用hexo new命令生成新文章后,可直接使用typora编辑:
1 | hexo new post "test" |
小技巧
写文章时,难免要在文章中插入图片,所以有必要稍微介绍一下,有关网站中图片资源的一些小技巧:D
图床
PicGo:是一个用于快速上传图片并获取图片URL链接的工具

简单的说(以Github图床为例)就是可以自动把图片上传到Github仓库,然后返回图片对应的url,写文章的时候,直接引用这个url即可插入图片。下载链接
有关PicGo的图床配置,可以看这篇文章:
按照上面这篇文章的介绍,可以建立一个专门用于图片存储的Github的仓库
CDN
图床虽然搭建好了,但是由于Github的服务器不在国内,访问资源速度太慢,于是可以用免费的CDN加速

jsDelivr 为开发者提供免费公共 CDN 加速服务
使用起来很方便,只需要把Github中图片的url进行如下对应的改动即可:
1 | github url |
在markdown中插入该图片:
1 | 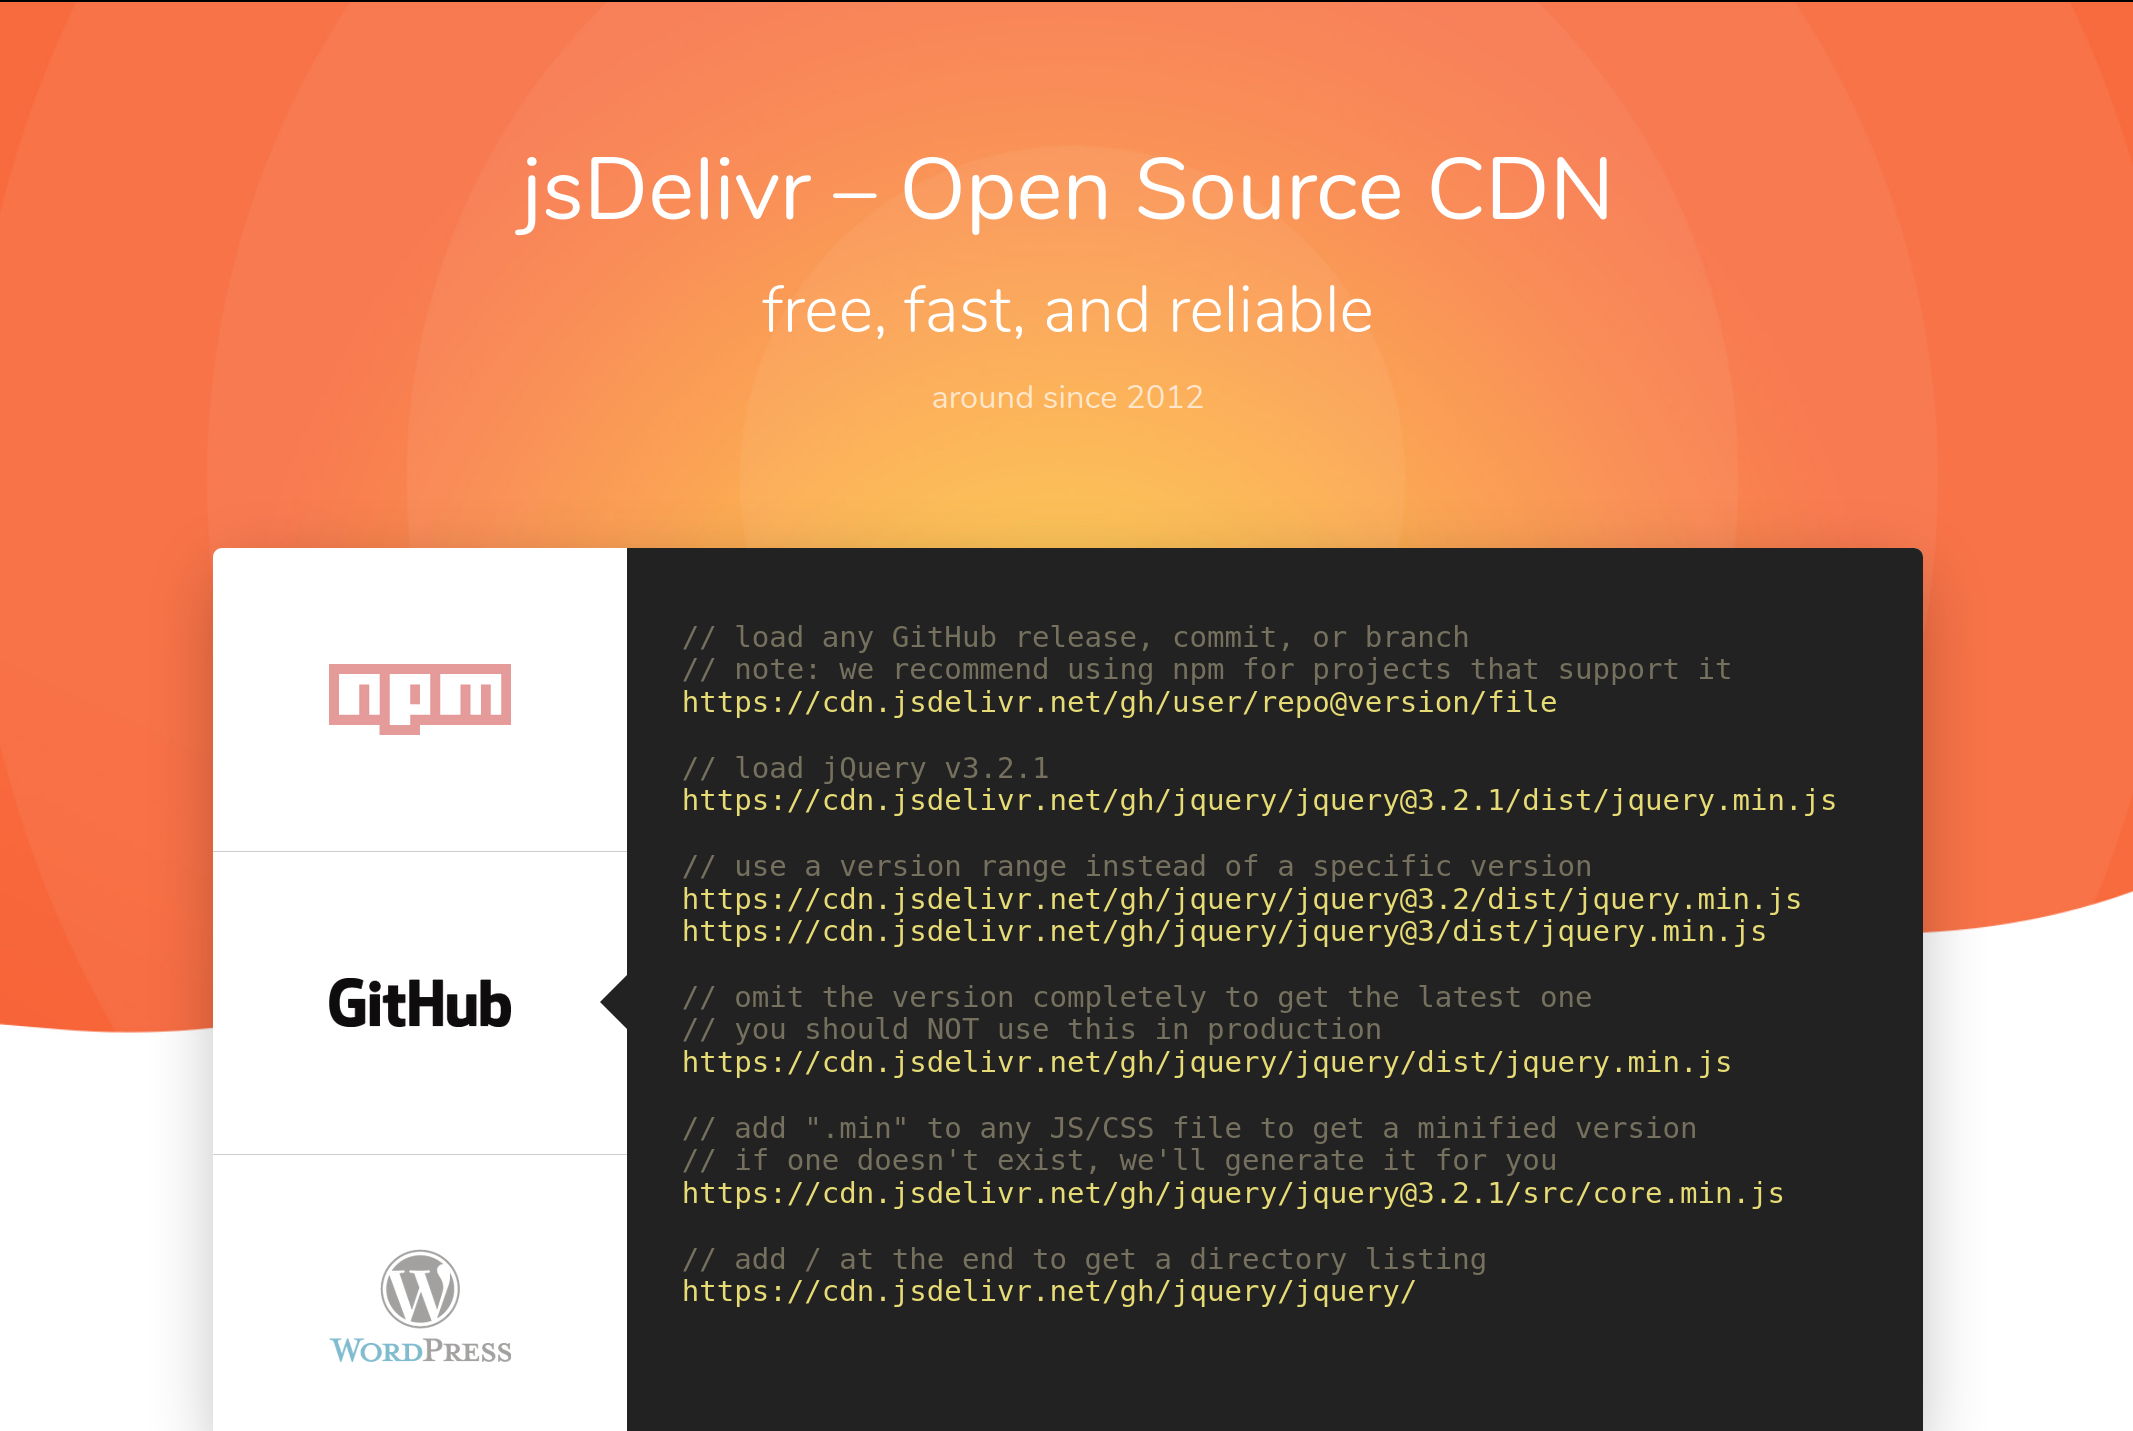 |
部署
这里介绍如何把生成好的网站部署到git服务器
首先要安装插件,在网站目录下执行以下命令:
1 | npm install hexo-deployer-git --save |
部署到GitHub Page
看这里超详细的:超详细的hexo+githhub page搭建过程
其实倒也不用那么麻烦…..
新建仓库
简单的说,就是在Github上新建一个仓库,仓库命名为username.github.io
username是你自己的github用户名,记得替换以下哦,下同
如果是首次用git的话,要配置一下用户信息
1 | $ git config --global user.name "username" |
修改_config.yml
然后直接改_config.yml末尾的部署配置:
1 | # Deployment |
执行部署命令
配置完,执行部署命令:
1 | hexo d |
最后,直接访问https://username.github.io 即可访问刚刚部署的网站
这里是通过HTTP协议部署的,如果要用SSH,看开头的超详细文章即可
部署到私有服务器
服务器以Ubuntu 16.04为例,(服务器应该差不多都是linux叭)
参考这里:如何在个人服务器上部署Hexo博客
大致思路:
1 在云服务器上建立私人git服务器并配置本地仓库
2 在个人开发pc上下载hexo框架源码,并在配置文件中设置push到云服务器上的私人仓库。
3 pc打包上传hexo静态文件并上传到服务器上的私人仓库
4 仓库中设置git钩子将已上传的静态资源拷贝到自定义目录下
5 通过nginx部署web服务,配置静态资源访问目录到自定义目录。
照着这个思路配置一下服务器即可。
先安装网页服务器吧,apache或者nginx之类的都可
在服务器上安装网页服务器
登录服务器,然后安装网页服务器:
1 | sudo apt-get install nginx |
在服务器上新建git用户
创建git用户:
1 | sudo adduser git |
在服务器上建立git服务器
自定义个人git目录
随便找一个目录,比如我在根目录下创建一个/TaQini文件夹作为我个人git的目录(里面存储配置文件)
1 | sudo mkdir /TaQini # 创建个人git目录 |
自定义git工作目录
再随便找一个目录,作为git仓库的工作目录(上传的代码会存储在工作目录中)
1 | sudo mkdir -p /var/www/hexo |
目录权限变更
把刚刚自定义的两个目录的权限给git用户:
1 | sudo chown -R git:git /TaQini /var/www/hexo |
配置git服务器
切换到的git用户,密码就是刚才设置的密码:
1 | $ su git |
编辑hook函数,并输入以下内容(刚才新建的两个目录):
1 | vim /TaQini/blog.git/hooks/post-receive |
1 | !/bin/sh |
添加可执行权限
1 | $ chmod +x /TaQini/blog.git/hooks/post-receive |
测试git仓库是否可用
在本地执行git clone命令,如果能把仓库拉下来,就说明git服务器搭建成功:
1 | $ git clone git@your_server_ip:/TaQini/blog.git |
your_server_ip:服务器的ip地址
your_git_password:服务器git用户的密码
禁用服务器git用户登录权限
现在git用户的默认shell是/bin/bash,为了安全,需要禁用 git 用户的 shell 登录权限
方法是将git用户的shell改为其专用的git-shell:
1 | cat /etc/shells # 查看 git-shell 是否在登录方式里面 |
然后修改git用户的shell:
1 | sudo vim /etc/passwd |
1 | 将/bin/bash修改为/usr/bin/git-shell |
最后在本地执行以下命令,检测服务器git用户登录权限是否禁用:
1 | ssh git@your_server_ip |
如果提示fatal: Interactive git shell is not enabled.,则表示禁用成功。
配置网页服务器
以nginx为例:
1 | sudo vim /etc/nginx/conf.d/default.conf |
修改location中的目录为git的工作目录/var/www/hexo即可
1 | server { |
增加/修改server中监听的端口可以把网页映射到多个端口
重启服务:
1 | sudo service nginx restart |
修改_config.yml
修改_config.yml末尾的部署配置,可以在repo中新增一条:
1 | # Deployment |
执行部署命令
配置完,执行部署命令:
1 | hexo d |
your_git_password:部署时需要输入服务器git用户的密码
直接访问https://your_server_ip,即可访问刚刚部署的网站
通过docker部署
目前我用的是docker+gogs+nginx的部署方式,本质上和上面说的git+nginx的部署方式一样,只是对服务进行了容器化。
gogs是一款不错的开源git平台
在这只贴出来dockerfile吧…以后有时间再补充说明
nginx
1 | version: '3' |
配置文件放到
config/文件夹下
gogs
1 | version: '3' |
通过docker把博客文件挂载到gogs中,这样本地push的时候,nginx的文件也会更改
在gogs中新建一个blog仓库,然后修改仓库配置将hook文件夹中的post-receive为以下内容:
1 | #!/usr/bin/env bash |
问题汇总
执行hexo d后遇到413错误:
1 | 413 Request Entity Too Large |
原因是随着博客发布内容的增多,push到服务器的文件大小超过了nginx服务器默认的限制
一般上传
1.5M+就会报错
解决方法是在nginx的配置文件的server或location配置中加入如下代码:
1 | # set client body size to 2M # |
可以多设置一点,以免再次超过阈值
end
以上就是全部的博客搭建操作啦,如果其中有什么错误,欢迎小伙伴儿们在下方评论区中指正~